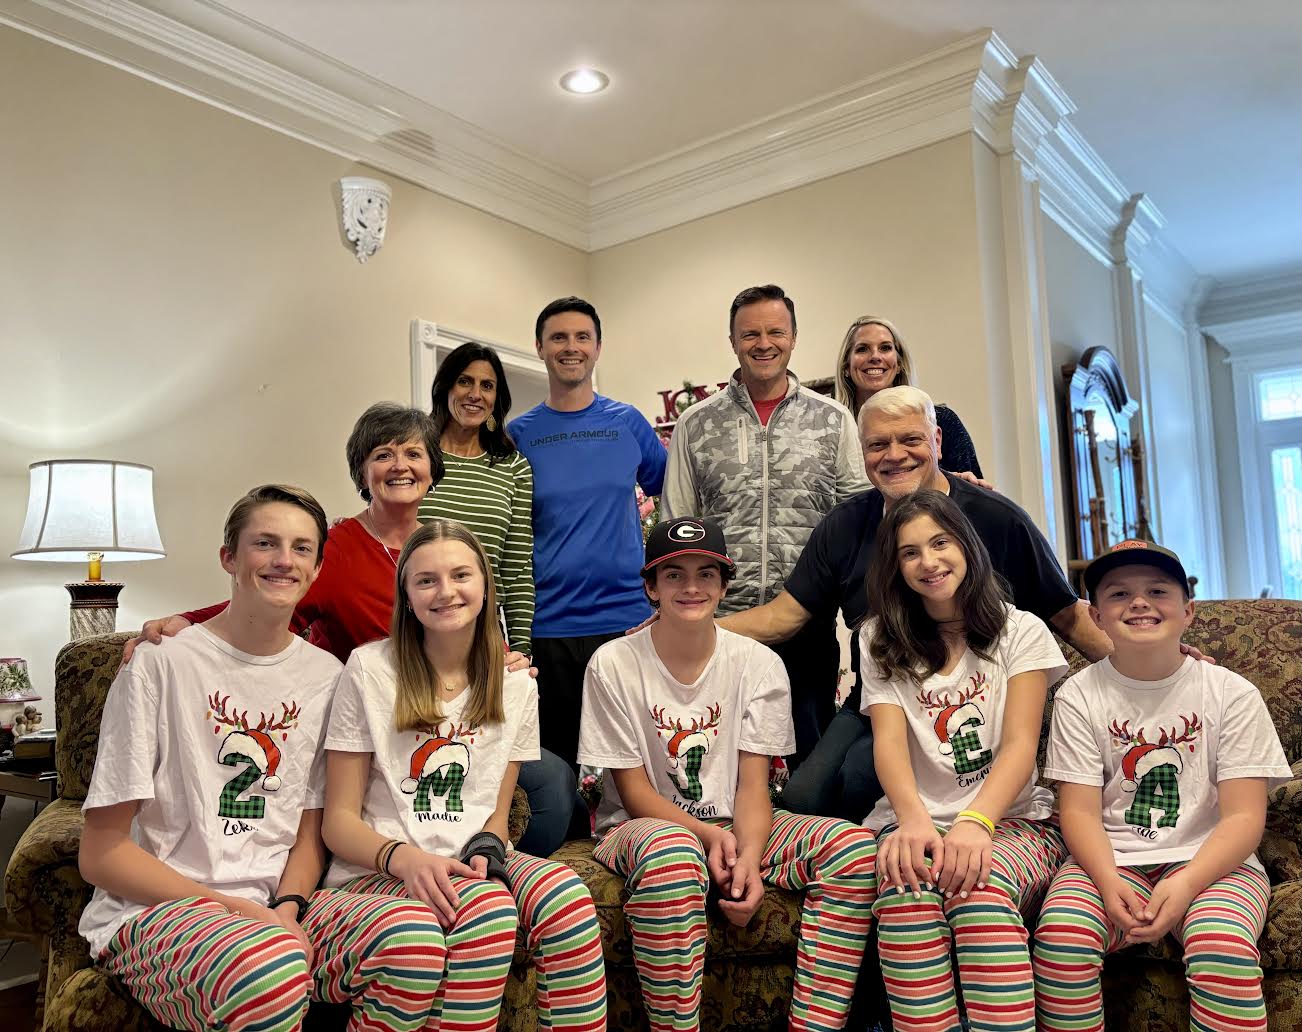
Chocolate Chip Bundt Cake

This cake is so easy to make and comes together quickly with the use of a boxed cake mix! But the add-ins make it a favorite! Save this one – you won’t be dissapointed! (You may substitute the canola oil for vegetable or avocado oil if you prefer.)

I love the Baker’s Joy spray. Spray it like it’s your job! Lately I don’t spray my bundt pan until right before I add the batter. It never fails to release quickly.

Share

Gran Jan’s Caramel Cake

Oh the JOY of an old-fashioned Caramel Cake! I’ve made a lot of caramel cakes since my original post back in 2008. I basically wanted to bring this recipe “forward” on the blog, so here it is! This is a recipe I found in a “Georgia Farmer’s Market Bulletin” paper over 40 years ago. This icing takes the cake!

CAKE  [Makes 3 layers]
· 2 sticks of butter (room temperature)
· 3 cups of sugar 
· 6 eggs (room temperature)
· 3 cups White Lily all-purpose flour, sifted
· 1/8 tsp salt 
· 1/4 tsp baking soda 
· 1 c sour cream 
· 1 T. vanilla flavoring
1. Preheat oven to 350° & prepare 3 nine-inch round cake pans (I use Baker’s Joy spray).
2. Cream butter & sugar until fluffy, 2-3 minutes.
3. Add eggs one at a time, then blend after each egg is added. 
4. Whisk salt into flour and stir baking soda into sour cream.
5. Alternately add flour and sour cream to the batter. Mix after each addition, don’t overmix!
6. Stir in the vanilla flavoring.
7. Pour an even amount of the batter into prepared pans and bake 25-28 minutes. The batter is thick. Don’t overbake!
Now let the cake layers cool in pans for a few minutes; then turn out onto cake racks to cool completely. Do not attempt to ice until they are completely cool. Completely cool. Completely all the way cool!

CARAMEL ICING
2 sticks of butter (I use salted butter)
2 cups packed dark brown sugar (may use one light brown and one dark brown)
3/4 cup of evaporated milk (I used canned Carnation evaporated milk)
1 tsp. vanilla flavoring
4 cups powdered sugar

1. In large heavy saucepan, melt the 2 sticks of butter over medium heat.
2. Add the 2 cups of dark brown sugar to the melted butter and bring to a boil, stirring well. Reduce the heat and simmer the butter and brown sugar together for 2 minutes longer, stirring constantly.
3. Add 3/4 cup of evaporated milk to your butter/sugar mixture and return mixture back to a boil, stirring until blended, then remove from heat.
4. After removing pan from heat, stir in the vanilla flavoring.
5. Pour hot icing into a large mixing bowl and add the 4 cups of powdered sugar.
6. Using a handheld electric mixer, beat in the powdered sugar until the icing is smooth and fluffy. Keep mixing until all the powdered sugar is incorporated!

Timing is everything! The caramel icing will get stiffer as it cools, so ice your cake when the icing texture is just right, nice and creamy. If the icing gets too thick, splash in a bit more cream and stir again. If your icing is too thin, add a bit more powdered sugar. You’ll get the feel for the perfect texture and get the timing down with practice. I speak from experience!

Helpful Notes:
Put a dab of icing on the cake platter of your choice and put the first layer there to help secure it while you add the frosting. This icing recipe is generous! I use 1/2 cup of icing between the layers with plenty of icing available for the sides and top!
This is a good tip: I take a tall glass of warm water and dip my icing spatula in to smooth the icing around the sides of the cake. You can do this several times. Then I take a wet paper towel and clean up any drips of icing that may have fallen on the cake platter. Presentation is important, but once someone eats a piece of this cake, presentation won’t matter as much. Seriously.

I hope your family and friends enjoy this delicious, timeless, Southern caramel cake recipe!

Gran Jan

Share

Buttermilk Cornbread Recipe

It is the day before Thanksgiving and I am busy making cornbread dressing. Just hopping on here to share my cornbread recipe. It’s been a long time since I posted!

INGREDIENTS
2 cups White Lily Self-Rising Buttermilk Cornmeal
1 stick of melted butter (I use salted)
1 1/2 cups of whole buttermilk
1/4 cup of corn oil (or vegetable or olive oil)
1 beaten egg
Extra oil (I use 1/4 cup for 12″ skillet) for coating bottom & sides of skillet

INSTRUCTIONS

  1. Preheat oven to 450 degrees.
  2. Pour extra oil (I use 1/4 Cup for 12″ skillet) into bottom of skillet and swirl around to coat sides. Slide into oven that is pre-heating, or heat oiled skillet on stovetop (my preference because you can see when the oil is “glistening” and ready for the cornbread batter!
  3. Mix wet ingredients: melted butter, buttermilk, corn oil, and beaten egg together with a whisk.
  4. Now add in the 2 cups of cornmeal and mix all together.
  5. Pour cornbread batter into hot skillet and slide into hot oven.
  6. Bake 20-25 minutes until golden brown.

Turn hot cornbread out of skillet and enjoy a piece with some butter while it is still hot!

Share

Delicious Taco Soup!

We love this delicious soup, especially my husband Gary! It is easy to make and feeds a crowd, with at least 12 hearty bowls from each batch! I hope your family will enjoy it too. We seem to “eat by the weather” around our home, and this Taco Soup is delicious at the first hint of some crisp Fall weather and also on a cold winter’s day. Enjoy! (You may half this recipe easily!)

INGREDIENTS:
2 1/2 pounds of lean ground beef, browned
1 large onion, diced, saute in 1 tsp.of olive oil (I usually just put it in the microwave for 3 minutes with a splash of olive oil)
2 packages of Taco seasoning mix – your choice of flavor!
2 packages of Ranch dressing mix
4 cans of beans, do not drain! Choose from your favorites: kidney, pinto, black, great Northern
2 14.5 oz. cans of diced tomatoes, chili style is good to use if you like a little extra spice
1 can Rotel diced tomatoes & chilies
1 16 oz. package of frozen white corn or 2 cans of white corn (drained)
4 cups of water

  1. Brown beef and then sprinkle both the Taco & Ranch seasoning packages on the meat, stir well.
  2. Add the onion you have pre-cooked and stir in well with browned beef and seasonings. Simmer a couple of minutes.
  3. Add the 4 cans of beans, remember do not drain.
  4. Now pour in the 2 cans of tomatoes and the Rotel tomatoes/chiles. Stir well.
  5. Add the 16 oz. package of frozen white corn or the 2 cans of canned corn (drained).
  6. Add the 4 cups of water and simmer everything for 2 – 3 hours.

Delicious Toppings: Chili-Cheese Fritos, Plain Fritos, Tostitos, sour cream, diced jalepenos, grated cheese, diced avocados.

This soup freezes well too. I pour it into a gallon size freezer bag and then it will easily lay down flat in your freezer.

GRAN JAN

Share

Homemade Hummus

*Two 15 oz. cans of chickpeas (drain & save the liquid, called aquafaba)
*2/3 cup of drained chickpea liquid
*1/2 cup of tahini (ground sesame seed paste – I usually find it in the organic section)
*1/4 cup of extra virgin olive oil
*2 lemons, juiced
*1/2 tsp. of minced garlic (may use fresh)
*1 tsp. ground cumin
*1/2 tsp. salt
ADD-INS: roasted red peppers, pickled jalapeños, pine nuts, your choice!

  1. Add drained chickpeas and 2/3 cup of chickpea liquid to food processor and pulse for 10-15 seconds.
  2. Now add tahini, olive oil, lemon juice, garlic, cumin, and salt.
  3. Pulse for 30 seconds – should be very creamy.
  4. May add more chickpea liquid to thin to desired consistency – but remember the hummus will “thicken” when chilled.
  5. Pulse in your favorite “add-in” at this point. We like roasted red pepper the best!
  6. Serve with veggies, pita chips, or your favorite snack cracker. (I love Fritos Scoops…)

I made this hummus back a couple of months ago to take to a family weekend with our sons, daughters-in-love, and grandchildren. Everyone loved it! I hope you do too!

Gran Jan

Share

“Comfort & Joy” Chicken & Dumplings

Gran Jan sporting her White Lily apron!

Chicken & Dumplings = A warm, comfort food, and one I love to make on a cold winter’s day. Good rich broth, delicious chicken, and delightful dumplings! The recipe is here, with pictures below if you’d like to check them out! I hope you make some soon. (Be sure to refer to the recipe often, the pictures are just to help, but don’t cover every step.)

Stock Ingredients: Water, chicken, onion, celery, seasoning
(Better than Bouillon), butter, and salt and pepper.
Refer to recipe for exact amounts.

Dumplings:
3 Cups White-Lily self-rising flour
2 teaspoons Kosher salt
1/2 Cup of Crisco shortening
2/3 Cup of buttermilk

Once you get your dumplings made, divide the dough into two portions. It just makes it easier to roll out and handle. Dumplings are tougher than biscuits. Don’t be afraid to work the dough! It needs to hold up in the boiling broth.

Roll into two thin sheets and let the dough dry while your chicken is cooking.

Cut the dumplings into strips. I have a dough cutter tool I bought from Williams Sonoma. You can use a knife or a pizza cutter just as easily. I like to make the dumplings about 1″ x 3″ wide/long, but you do you.

This is a happy sight! It’s good for some of the flour to stick to the dumplings. This helps your broth thicken a bit. (That’s my fancy dough cutter.)

These two ingredients are keepers! You will stir the cream of chicken soup into the strained hot broth after you’ve removed the cooked chicken, but before you add the dumplings in.

The half & half is added at the very end. It makes a wonderful rich broth even better!

We like a mixture of both white and dark meat chicken. Just be sure to use “skin-on, bone-in” chicken for your broth. Remove it to a plate to cool and cut in bite-size pieces (discarding skin and bones).

After you’ve strained the broth and stirred in the cream of chicken soup, allowing it to mix well, it’s time to drop the dumplings into the hot boiling broth. I drop them in one or two at a time, stir very gently with a wooden spoon, and then let them cook about 20 minutes.

You’re almost there now!

Turn the heat off when the dumplings are done. When down to a simmer, add in the cup of half & half, then add the cut-up chicken.

Let everything rest for a half hour or more to a pot of COMFORT & JOY!

Gran Jan

Share

Pumpkin Muffins – All Sizes!

I love to make pumpkin bread. This recipe is my absolute favorite. Lately I’ve used my same recipe to make muffins instead of loaves. This recipe makes either:
12 JUMBO size muffins, OR
24 REGULAR size muffins, OR
96 MINI size muffins
!
The recipe and baking time adjustments are below:

DRY INGREDIENTS:
3 cups White Lily all-purpose flour
1 ½ cups white sugar
1 cup dark brown sugar (packed)
2 tsp. baking soda (make sure it’s fresh!)
1 ½ teaspoons salt
2 teaspoons of ground cinnamon
1 Tablespoon pumpkin pie spice

WET INGREDIENTS:
1 cup vegetable oil
1 15 oz can pure pumpkin (not pie filling)
2/3 cup water

LET’S MAKE MUFFINS!

Preheat your oven to 350 degrees and spray the muffin tins with Baker’s Joy or use paper liners. My favorite liners are the brown paper parchment fancy bakery style holders. (See the picture above.) I found these on Amazon and also saw some at Home Goods recently.

1. In a large bowl, whisk all DRY ingredients together, breaking up clumps of brown sugar.
2.  Add the WET ingredients and mix well with a spatula.
3.  Divide into muffin tins – approximations as follows:
Makes 12 JUMBO muffins – use 1/2 cup of batter per muffin
Makes 24 Regular size muffins – use 1/4 cup of batter per muffin
Makes 96 Mini Muffins – 1 big Tablespoon of batter per muffin

Bake Jumbo Muffins 35-38 mins; Regular muffins 30-35 mins; mini muffins just 12-15 mins. All ovens are different, so be sure to test for doneness. Don’t overbake. They will continue to bake a bit when you remove them from the oven.
4. If not using paper liners, cool 5-10 minutes in the pans then invert and cool completely.

This recipe also makes 2 standard size loaf pans of pumpkin bread. I have the recipe with a fabulous swirl of cream cheese on top on my blog also. You can find it by searching “Cream Cheese Pumpkin Bread.”

Happy Fall Y’all!
Gran Jan

Share